
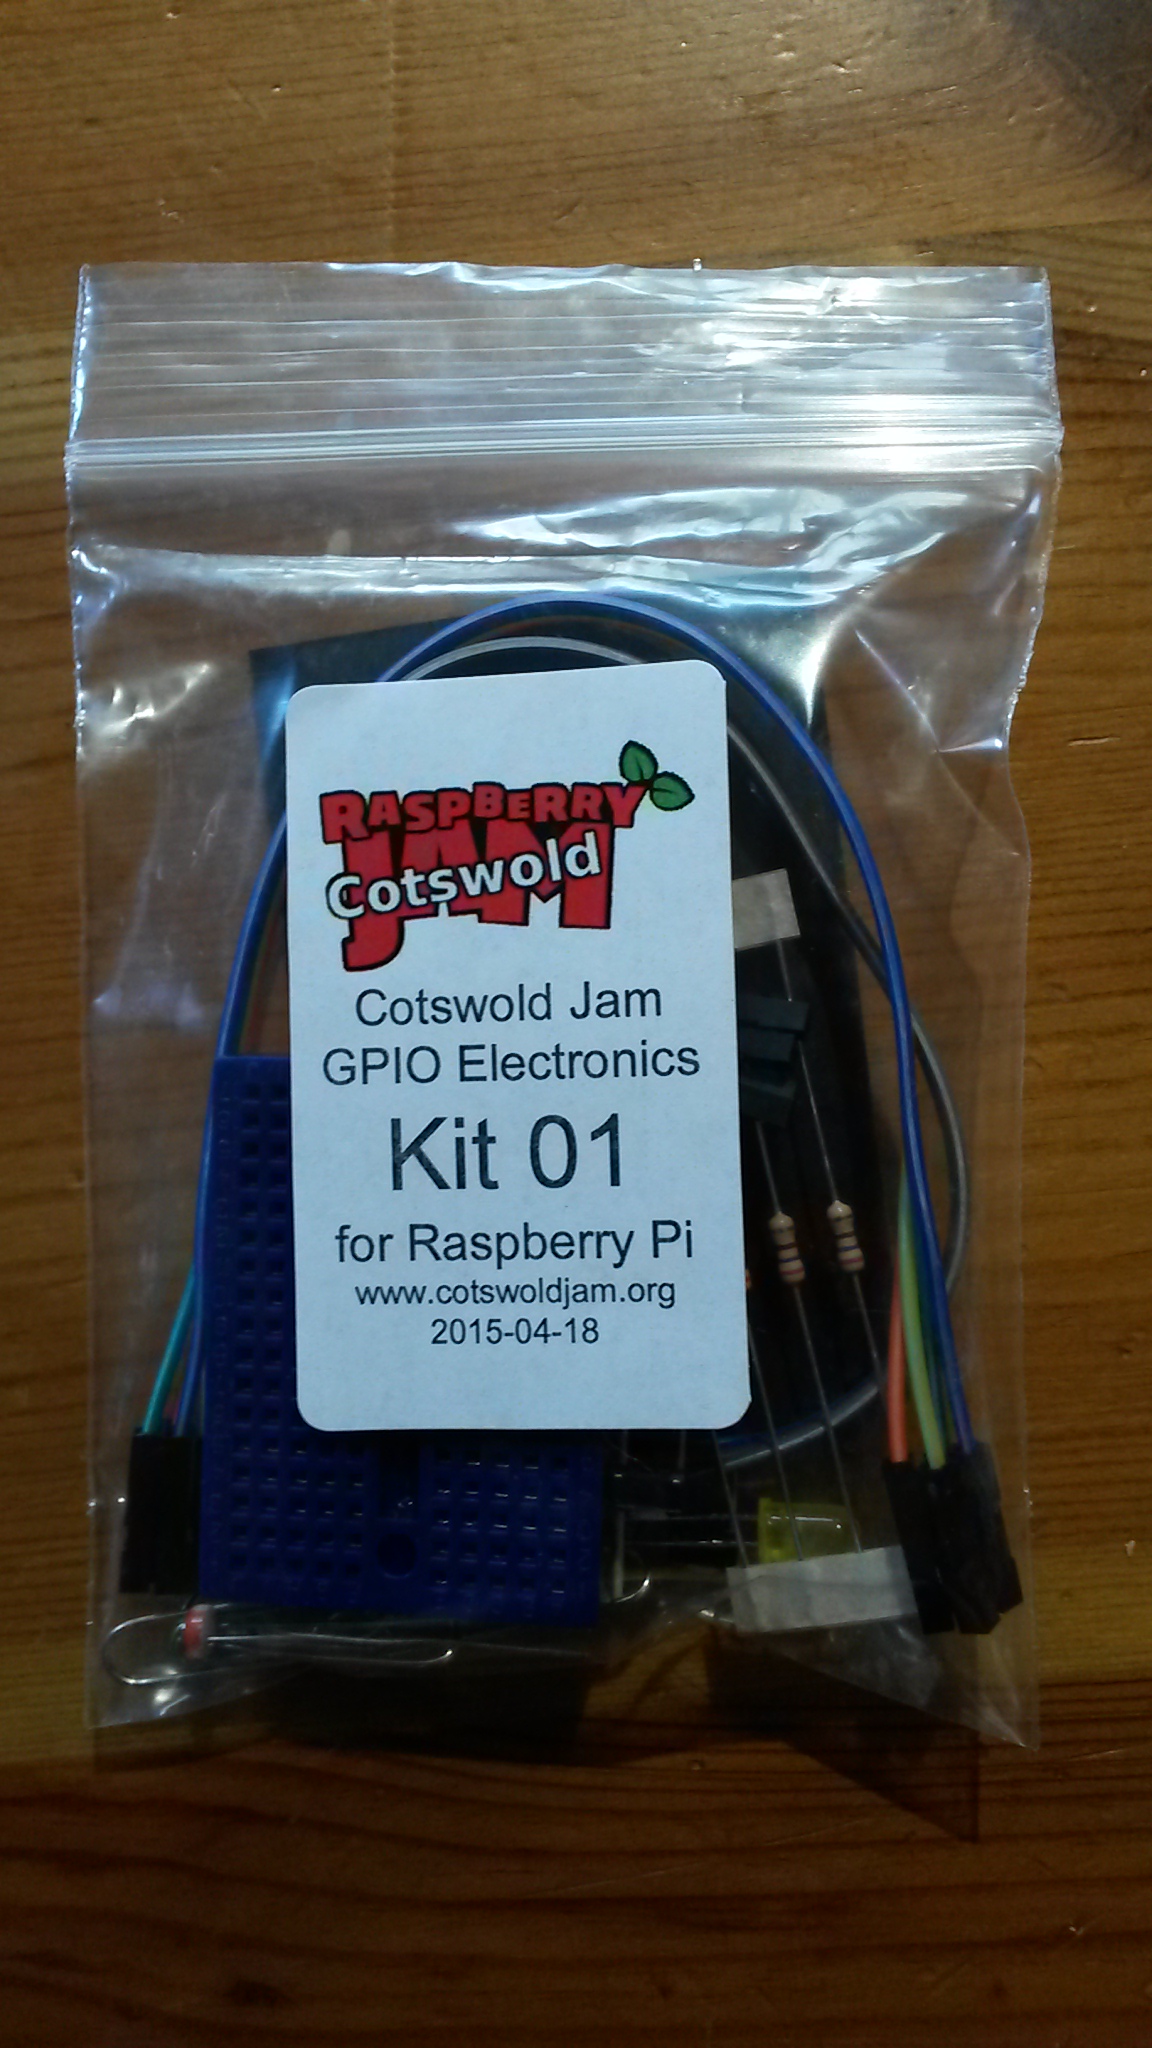
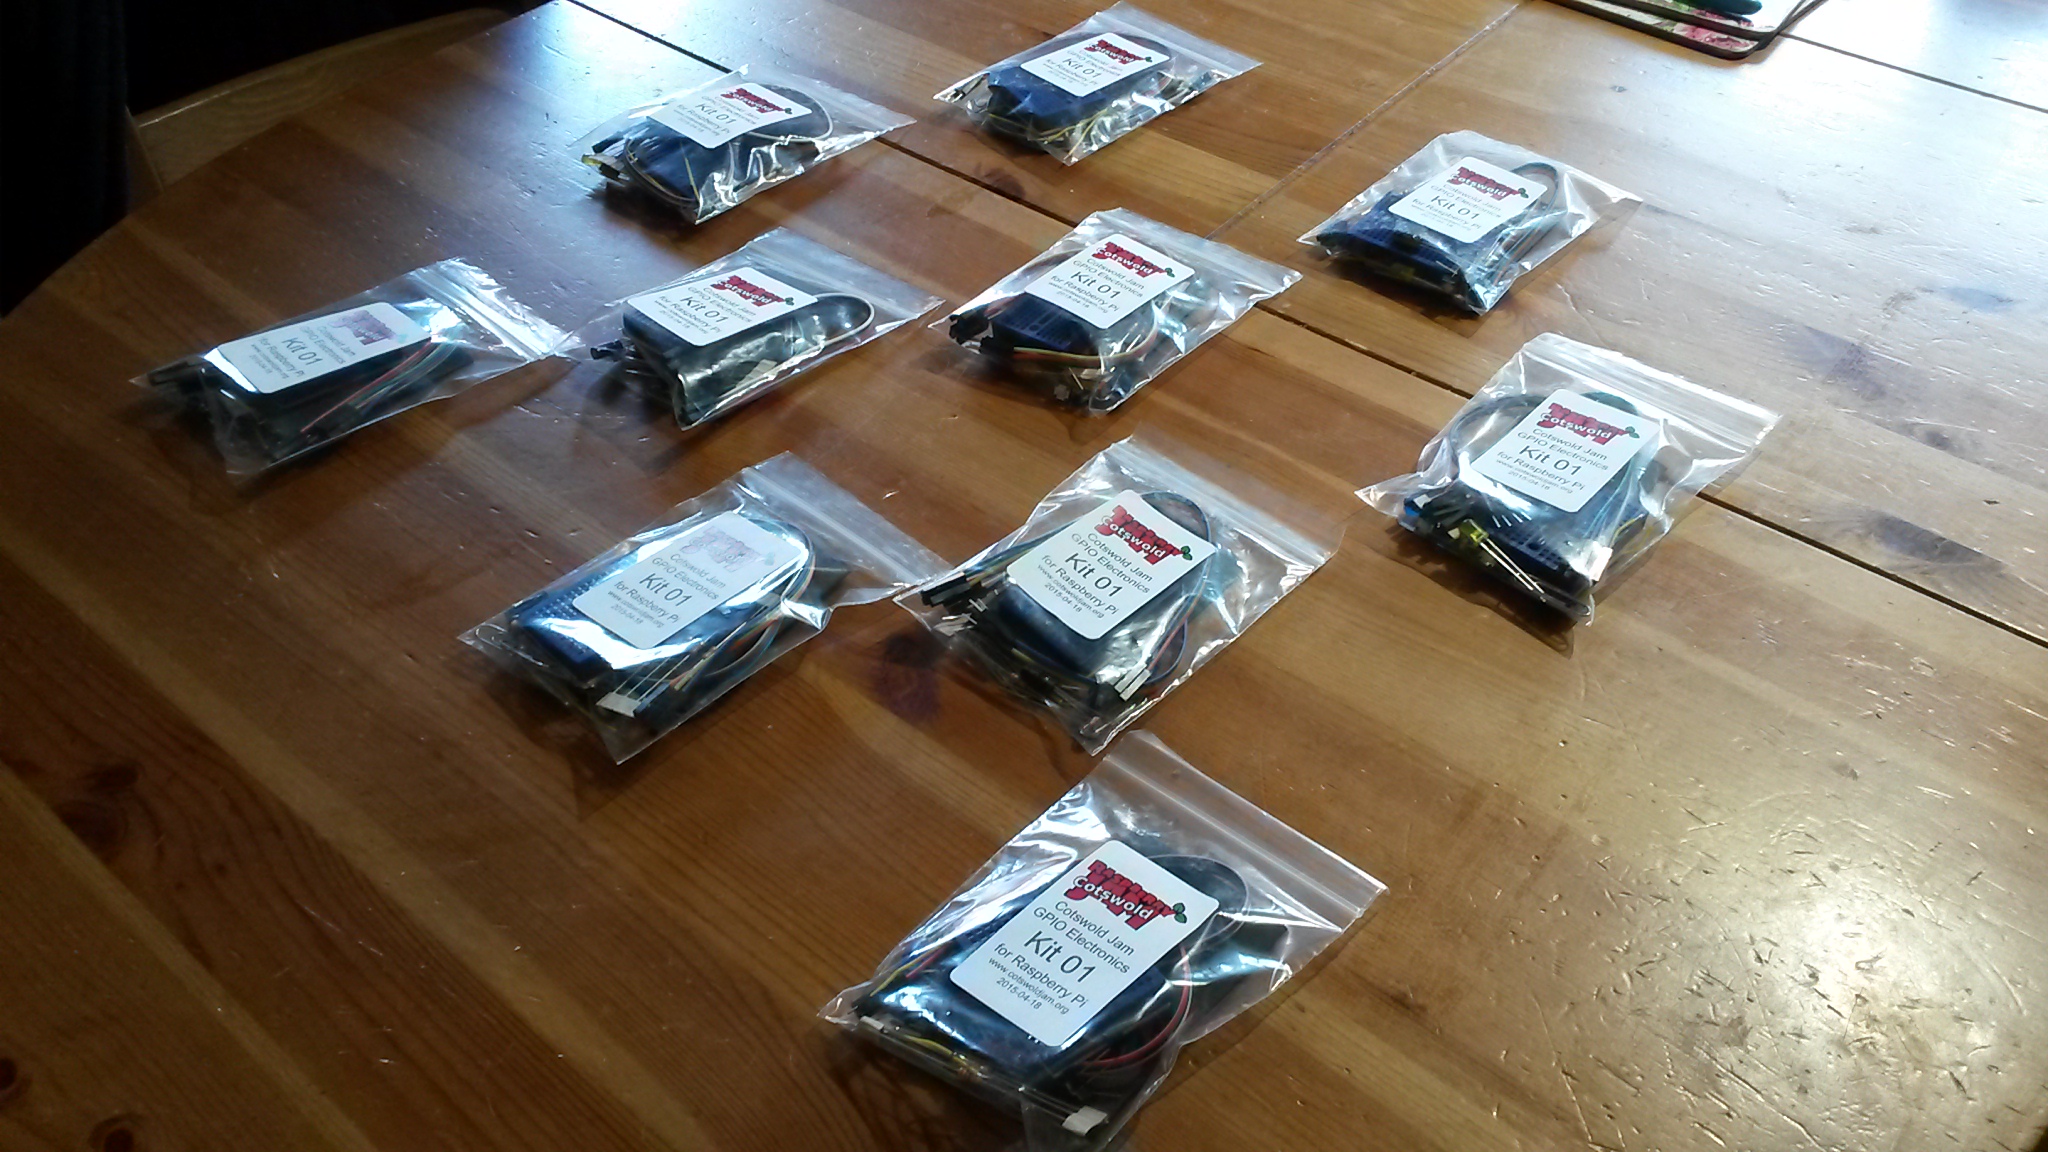
We are selling electronics kits for Raspberry Pi GPIO projects on a trial basis at our event on Saturday 18 April 2015 in Cheltenham.
A limited run of 10 kits will be available for £5 per kit. Maximum one kit per family and the kits will be offered to children first. If there are any kits left by 3:30pm (half an hour before the event ends) then the kits will go on sale to adults. If there is more adult demand than supply, then we’ll raffle them.
If this proves successful, then we will consider doing a larger run for our next event, and also selling the kits on eBay (plus postage costs).
The kit includes about £4 of components plus approximately £1 profit towards future Cotswold Raspberry Jam events and tutorials. We are publishing the list of components so you can create your own kit if you prefer.
You do not need to purchase a kit to take part in the LED Birthday Candle tutorial. All equipment for the tutorial will be provided separately, free. However the kit does include all the parts (and many more) for you to recreate the candle tutorial at home, plus the Screaming Jelly Baby tutorial. It is our goal that this kit will also cover the vast majority of components needed for the vast majority of our tutorials for the next year or so.
The components for each kit are as follows:
- Breadboard – mini 170 point (a reusable circuitboard that requires no soldering)
- Capacitor – electrolytic 1 microfarad (briefly holds an electric charge, useful as a very simple analogue-to-digital converter)
- Photoresistor – 4mm 2-20k ohm through-hole (detects light and dark)
- LED – 5mm diffused through-hole red (a red light bulb)
- LED – 5mm diffused through-hole yellow (a yellow light bulb)
- LED – 5mm diffused through-hole green (a green light bulb)
- LED – 5mm diffused through-hole blue (a blue light bulb)
- 4x Resistors – carbon film 270 ohm through-hole (to stop the LEDs burning out, amongst other uses)
- 2x Switches – 2 pin 6x6x4mm tactile push-button through-hole (press the button to trigger something on the Raspberry Pi)
- 4x Jumper wires – 20cm male-female Dupont headers (for plugging from the Raspberry Pi to the breadboard)
- 4x Jumper wires – 20cm female-female Dupont headers (for plugging from the Raspberry Pi directly to components)
- 4x Jumper wires – 6cm solid wire (for plugging across the breadboard)
- 4x Paperclips – small (can be bent into different shapes for all manner of uses, including the abuse of jelly babies)
- Card – A6 210gsm black (useful as a black-out for the photoresistor, also as insulating material)
View the full component spreadsheet including unit costs, Farnell part numbers and eBay item numbers. Note that we don’t guarantee that the prices we’ve found are the cheapest, but they should be pretty close. There is a trade-off between convenience, bulk ordering, delivery time and price. We might add Maplin product numbers at a later date for those who prefer the instant gratification of a bricks-and-mortar shop (or for those of you who’ve burned out an LED and need a replacement pronto!). We receive no commission from anyone (but if you run a components firm and would like to sponsor us or donate some equipment, please get in touch!).
Great idea and even better price point! Good luck with the event!
After the Raspberry Pi Foundation retweeted our announcement, we’ve had a tremendous response.
This is a trial project which will initially be available in very small numbers. I might scale it up after a month or two, but right now, unless you want a kit specifically for Cotswold Jam tutorials, if you want a good generic starter kit for RPi GPIO electronics, I heartily recommend our colleagues at Cambridge Jam’s EduKit. This is again at that lovely £5 (+£1 postage) pocket-money price-point, and more importantly is available RIGHT NOW, IN STOCK over at The Pi Hut:
http://thepihut.com/products/camjam-edukit
There are only a few subtle differences between their kit and ours:
* Our kit includes a blue LED, as well as the common red, yellow and green ones, because, like one in ten males, I’m colour-blind and red/yellow/green LEDs drive me up the wall. I’m thinking of doing a Lego Traffic Light tutorial (have you noticed how 5mm LEDs fit *exactly* into Lego Technic holes?) where I’ll be able to judge the colours by their vertical position, but other than that, expect all of my future LED tutorials to focus on Blue vs. Not-Blue. Yeah, Not-Blue *is* a colour!
* CamJam’s kit has a larger 400-point breadboard. Clearly they have better purchasing power than us!
* Our kit has two mini buttons, CamJam’s kit has one big red button. If you are planning nuclear Armageddon, CamJam is your best starting point. If you’re planning for your project to provide a choice, get ours.
* CamJam’s kit has a buzzer, whereas ours has a photocell and a capacitor. So you can make noises with CamJam’s kit but you can detect light with our kit. I did consider including a buzzer, but I prefer to play sound files over the headphone socket.
* Our kit comes in a bag, CamJam’s kit comes in a very nice padded tin (can you fit a Model A+ in the tin, I wonder?). Again, clearly CamJam have superior purchasing power. Maybe we’ll get their kind of economies-of-scale one day.
* CamJam have more tutorials than us right now! I’m working on it…